
Need Help?
Call us! (877) 219-3936
Call us! (877) 219-3936

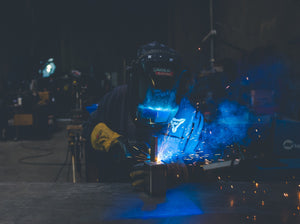
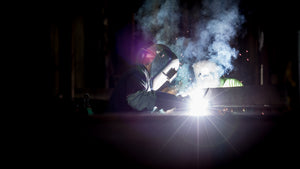
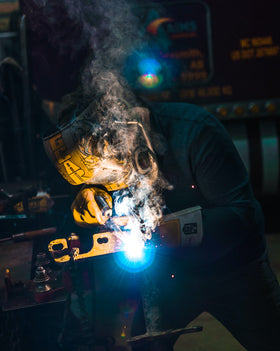
MIG welding stands for metal inert gas and is commonly associated with GMAW, or gas metal arc welding. This form of welding is very popular and easy to learn for newcomers and industry veterans alike. Sharpening your knowledge with this guide to the basic operation of a MIG welder will help you become more familiar with the machine and what all those symbols and knobs mean.
Many of the labels on the front of a MIG welding machine can vary. For instance, MIG welding machines in Canada require the CSA (Canadian Standards Association) logo to be clearly displayed on the front of it for use in the country. You’ll commonly find labels on the front, such as the company logo, duty cycle (how long you can use the machine within a certain time frame), and other information regarding amp/voltage settings.
No matter the differences between MIG welders, the three commonalities you always have to look for are logos associated with power, wire feed speed, and voltage levels. You’ll always find these symbols next to their associated switches/knobs. More specifically, you’ll see one switch and two knobs.
One knob is for adjusting the speed at which the wire is emitted from the welding gun, and the second knob is for adjusting the voltage level. These knobs will be clearly labeled with either symbols or words, so consult the owner’s manual if you’re unsure of which is which. Using the power of deduction, you can already guess that the switch is what powers the machine on and off. By providing the welding machine with power, the transformer within activates and allows operators to adjust the voltage settings on the machine using the designated knob.
Furthermore, the maximum current will be clearly labeled on the front of the welding machine. For instance, if the machine has the number 140 displayed on the front, then the machine can briefly pull a maximum of 140 amps DC. It’s important to pay attention to this number so you can buy a machine with the amp requirements in accordance with the specific task you have at hand.
Inside the MIG welding machine, you should also find features such as the area to attach the wire reel (whether you’re using flux core or solid) and the polarity settings (positive or negative). The polarity will be clearly labeled with + (positive) and – (negative). The wire you use during the weld relies on the specific polarity settings on your machine.
Now that you understand the basic operation of a MIG welder, you’re almost ready to tackle your task with success. Before beginning your weld, however, you do need to have the essentials such as a MIG welding gun, as well as other components that play a vital role in the welding process (consumables, gas, etc.). Once you have all the gear and knowledge you need to complete the task, you’re finally ready to MIG weld with success.
Leave a comment